

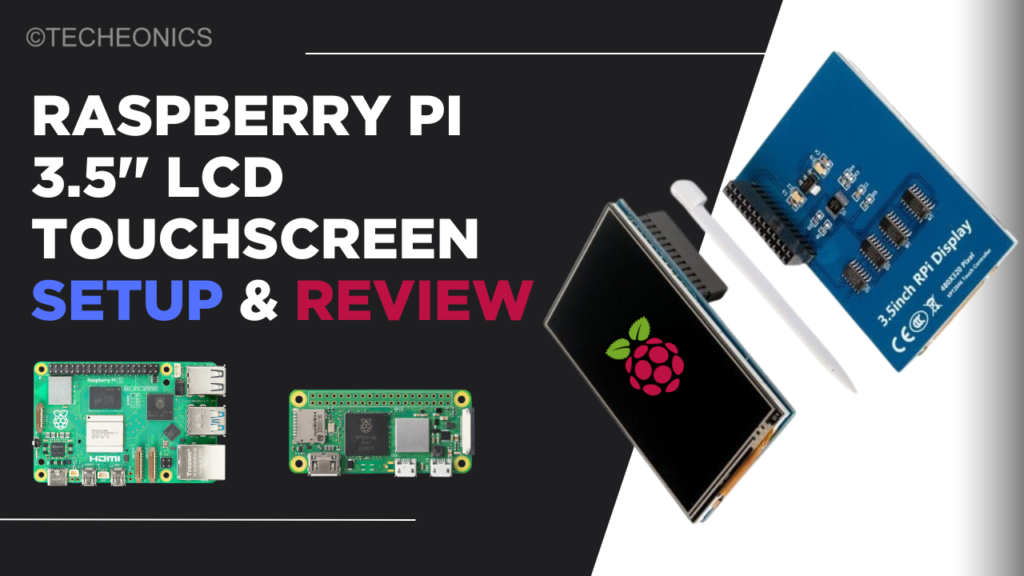
Setting Up a 3.5-inch LCD Touch Display with Raspberry Pi: A Step-by-Step Guide
Setting Up a 3.5-inch LCD Touch Display with Raspberry Pi: A Step-by-Step Guide
Want to transform your Raspberry Pi into a mini touchscreen device? In this guide, we’ll walk you through the process of setting up a 3.5-inch LCD touch display. From installation to calibration, and even switching back to HDMI, we’ve got you covered. Check out our YouTube video for a hands-on demo!
Setting up a 3.5-inch LCD touch display with your Raspberry Pi can be a game-changer for your projects. Whether you’re creating a portable device or a compact interface, this guide will help you through each step. Let’s dive into the specs of the display, the setup process, installing drivers, calibrating the touch function, and even switching back to HDMI when needed. Don’t forget to watch our YouTube tutorial for a detailed demonstration.
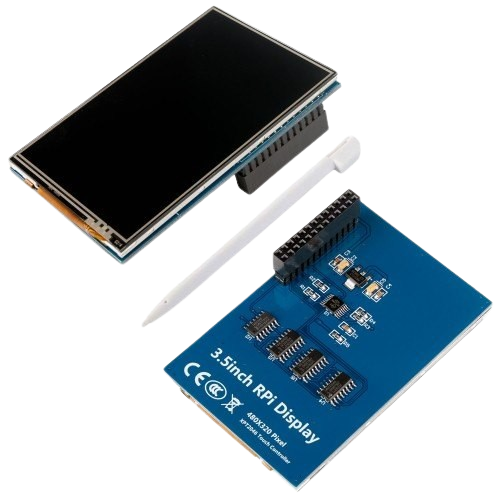
Specifications of the 3.5-inch LCD Touch Display
Before we get started, let’s look at the key features of the 3.5-inch LCD touch display:
- Resolution: 480×320 pixels
- Interface: SPI (Serial Peripheral Interface)
- Touch Type: Resistive touch
- Backlight: LED
- Power Consumption: Low, powered via Raspberry Pi GPIO
- Compatibility: Works with Raspberry Pi models with a 40-pin GPIO header
For more detailed information, you can check out the 3.5 inh LCD displays.
Setting Up the Display
Step 1: Connecting the Display
- Power Off the Raspberry Pi: Ensure your Raspberry Pi is powered off and unplugged.
- Align the Pins: Carefully align the display with the GPIO pins on the Raspberry Pi. The display should fit snugly on top of the GPIO header.
- Secure the Display: Once aligned, gently press down to secure the display in place.
Step 2: Installing the Drivers
To make the display work, you’ll need to install the appropriate drivers.
- Power On and Update: Power on your Raspberry Pi and open the terminal. Ensure your system is up to date with the following commands:
sudo apt-get update
sudo apt-get upgrade- Install the Drivers: Download and install the necessary drivers using the command below:
git clone https://github.com/goodtft/LCD-show.git
cd LCD-show/
sudo chmod +x LCD35-show sudo ./LCD35-show- Reboot: After the installation, your Raspberry Pi will reboot, and the display should be active.
Calibrating the Touchscreen
Once the display is working, you might need to calibrate the touch functionality.
- Install Calibration Tool: Use the following commands to install the calibration tool:
sudo apt-get install -y xinput-calibrator - Run the Calibration Tool: After installation, run the tool to calibrate your touch display:
sudo xinput_calibrator - Follow On-Screen Instructions: Follow the instructions on the screen to complete the calibration process.
Switching Back to HDMI
After setting up the LCD display, the HDMI port might not function properly. Here’s how to switch back to HDMI:
- Open Terminal: Open the terminal on your Raspberry Pi.
- Execute Command: Run the following command to switch the display output back to HDMI:
sudo ./LCD-hdmi - Reboot: Reboot your Raspberry Pi to apply the changes.
Watch Our YouTube Tutorial
For a visual guide, watch our comprehensive YouTube video where we review the display, set it up, and demonstrate its capabilities.
Helpful Links
FAQs
Q1: What Raspberry Pi models are compatible with the 3.5-inch LCD touch display?
A1: The display is compatible with any Raspberry Pi model that has a 40-pin GPIO header.
Q2: How do I switch between the LCD display and HDMI?
A2: You can switch back to HDMI by running the sudo ./LCD-hdmi command in the terminal and rebooting your Raspberry Pi.
Q3: Can I use the display without installing drivers?
A3: No, you need to install the specific drivers to make the display work with your Raspberry Pi.
Wrapping Up
Setting up a 3.5-inch LCD touch display on your Raspberry Pi is straightforward when you know the steps. From connecting the hardware to installing drivers and calibrating the touchscreen, this guide has covered it all. If you encounter any issues or need further clarification, our YouTube tutorial is a great resource to follow along. Happy tinkering!
Setting Up a 3.5-inch LCD Touch Display with Raspberry Pi: A Step-by-Step Guide