

Make A Obstacle Avoiding Robot Using Intelli Bot
Introduction
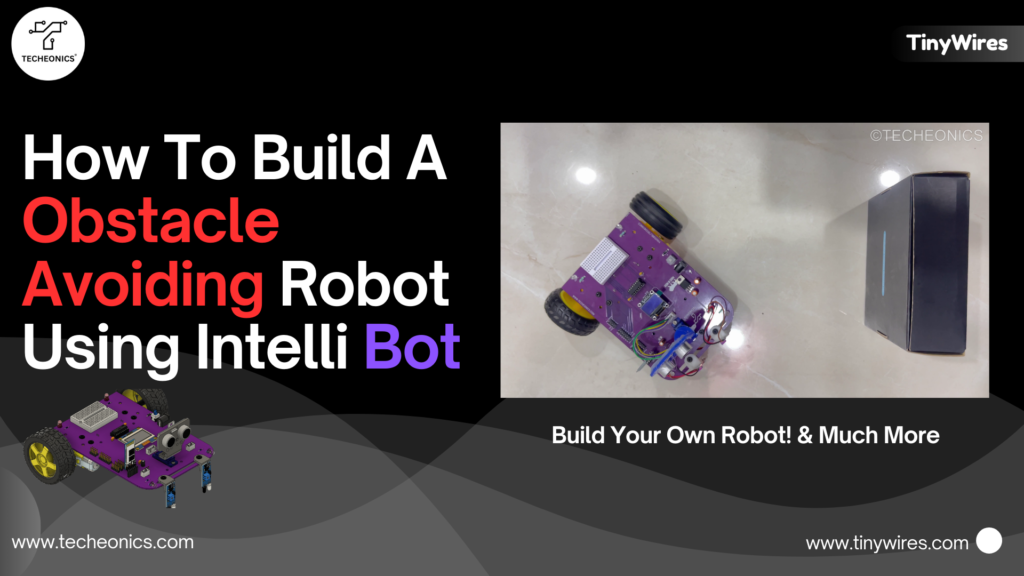
Robotics is a field that brings together mechanics, electronics, and programming to create intelligent machines that can perform tasks both autonomously and with manual control. One of the most engaging and practical projects in robotics is building an obstacle-avoiding robot. This robot can detect obstacles in its path using ultrasonic sensors and steer clear of them, making it an excellent project for beginners to understand sensor integration and motor control.
In this blog, we’ll explore how to build an obstacle-avoiding robot using the IntelliBot V1 kit, which includes an Arduino Nano, motors, an ultrasonic sensor, and a servo motor. By the end, you’ll have a working robot that can navigate its environment while avoiding obstacles.
Understanding the Working Principle
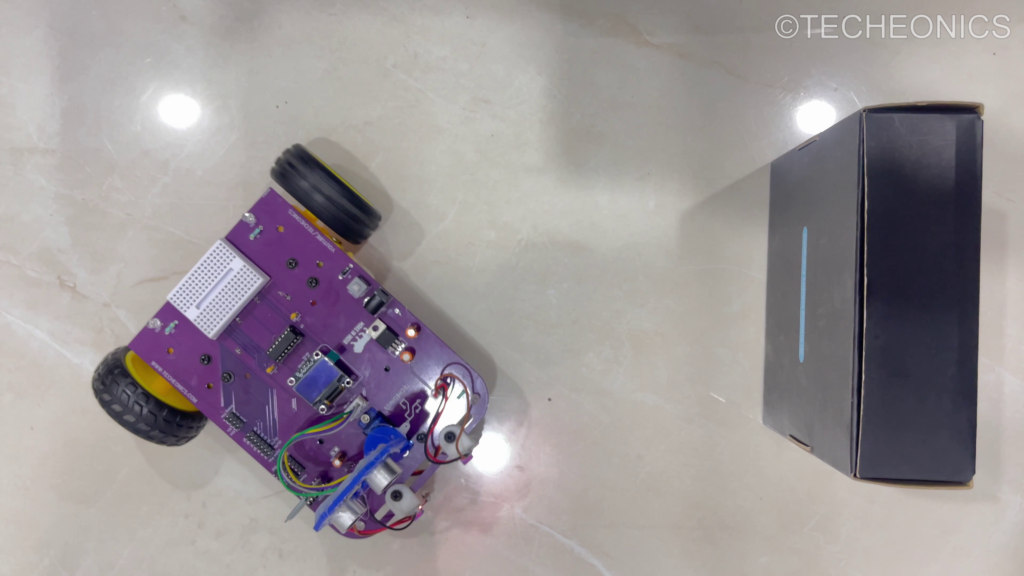
An obstacle-avoiding robot uses an ultrasonic sensor (like the HC-SR04) to measure the distance between itself and objects in its path. This data is fed into the Arduino Nano, which processes it and decides whether the robot should move forward, turn, or stop to avoid a collision. The robot constantly checks for obstacles and adjusts its course accordingly.
The key components of this robot are:
- Ultrasonic Sensor: Measures the distance to an object.
- Motors: Control the robot’s movement.
- Servo Motor: Rotates the ultrasonic sensor to scan different directions.
- Arduino Nano: The brain of the robot that processes sensor data and controls the motors.
Wiring the Electronics
Before we dive into the code, let’s start with the wiring. Here’s how to connect all the components:
1. Ultrasonic Sensor (HC-SR04)
The ultrasonic sensor is used to detect obstacles. To mount and wire it:
- Insert the sensor into the sensor mount, which is placed on the servo motor to rotate the sensor for better obstacle detection.
- Connect the cable to the dedicated sensor port on the PCB.
2. Arduino Nano
- Mount the Arduino Nano securely onto the PCB by aligning it with the designated Arduino port.
- Ensure proper orientation to avoid wiring issues.
3. Motors
- Attach the motors to the PCB. The IntelliBot V1 kit simplifies this with pre-designated motor mounts.
- Connect the cables from the motors to Motor 1 and Motor 2 ports on the PCB.
4. Power Supply
- Insert two 18650 3.7V lithium-ion cells into the battery holder.
- Ensure the batteries are securely in place and connected to the power supply.
5. Servo Motor
The servo motor rotates the ultrasonic sensor to allow it to scan the environment. To mount and wire it:
- Secure the servo motor to its mount using screws.
- Connect the servo motor cable to the dedicated servo motor port on the PCB.
Programming the Arduino Nano
Now that the hardware is set up, it’s time to program the Arduino Nano. The logic is straightforward:
- If the robot detects an obstacle within a certain range (e.g., 20 cm), it will stop, decide which way to turn, and then proceed in the chosen direction.
- If no obstacle is detected, the robot will continue moving forward.
We’ll use the IntelliBot_v1 library, which simplifies controlling motors and sensors by providing pre-built functions like motor movements (forward(), left(), right(), etc.).
Here’s the code:
#include<IntelliBot_v1.h>

// Create instances of Motors and Ultrasonic
Motors myMotors;
Ultrasonic myUltrasonic;

void setup() {
    // Initialize the motors and ultrasonic sensor
    myMotors.init();
    myUltrasonic.init();
}

void loop() {
    int distanceFront;

    // Measure distance at the front
    myUltrasonic.measureDistanceCm();
    distanceFront = myUltrasonic.getDistanceCm();

    if (distanceFront > 20) {
        // If no obstacle is detected, move forward
        myMotors.forward();
    } else {
        // Stop and decide which way to turn
        myMotors.brake();
        delay(500);

        // Simple avoidance logic
        if (random(0, 2) == 0) {
            myMotors.left(); // Turn left
        } else {
            myMotors.right(); // Turn right
        }

        delay(1000); // Move a bit in the chosen direction
    }
}
How the Code Works:
- Initialization: The motors and ultrasonic sensor are initialized in the setup function.
- Distance Measurement: The ultrasonic sensor measures the distance to the nearest object in front of the robot.
- Decision-Making: If the distance is greater than 20 cm, the robot moves forward. If the distance is less than 20 cm, the robot stops and randomly chooses to turn left or right.
- Avoidance: After turning, the robot continues checking for obstacles, repeating the process.
Testing and Calibration
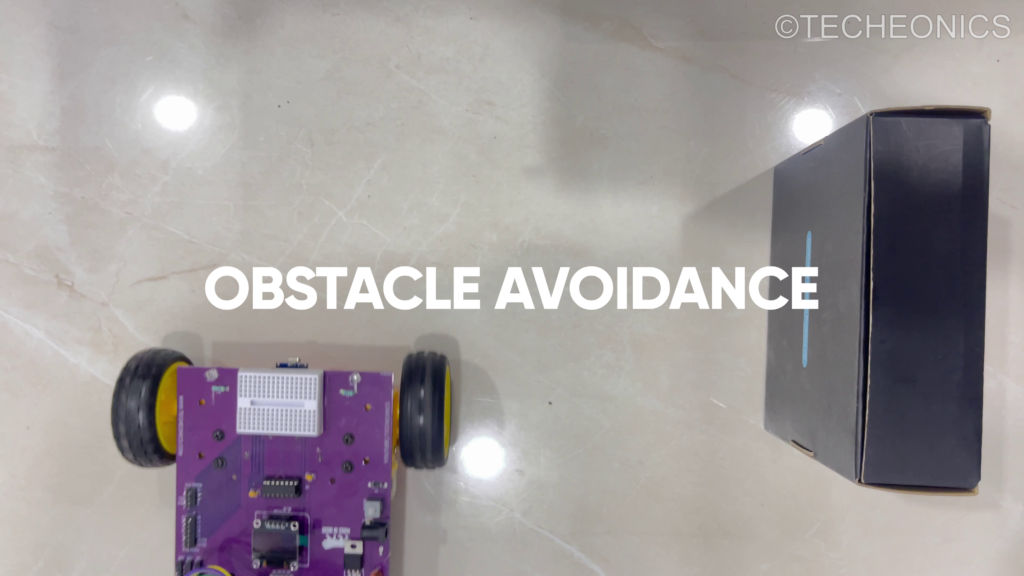
After uploading the code to the Arduino Nano, it’s time to test your robot:
- Upload the Full Code: Ensure the final version of the obstacle-avoiding code, which includes ultrasonic sensor integration, is uploaded.
- Set Up Obstacles: Create a small course with objects (like boxes or books) that the robot will need to avoid.
- Observe Behavior: Watch how the robot navigates its environment, avoiding obstacles based on the data from the ultrasonic sensor.
- Fine-Tuning: If the robot struggles to avoid obstacles, you may need to adjust the distance threshold in the code or tweak the timing and turning angles.
Precautions
- Secure Connections: Ensure all wires and components are securely connected. Loose wires may cause intermittent issues or lead to malfunction during operation.
- Correct Pin Assignments: Double-check that all components are connected to the correct pins. Incorrect wiring could result in malfunctioning or damage to the robot.
- Sensor Placement: Make sure the ultrasonic sensor is positioned at the correct height and angle for accurate distance measurement.
- Battery Management: Ensure the batteries are charged and properly inserted to avoid power issues.
Advanced Customizations
Once you’ve built and tested the basic obstacle-avoiding robot, you can experiment with the following customizations:
- Servo Scanning: Add logic to rotate the ultrasonic sensor left and right using the servo motor to scan a wider area.
- Speed Adjustments: Modify the motor speeds for faster or slower obstacle avoidance.
- Multiple Sensors: Incorporate additional sensors for better obstacle detection on the sides or rear of the robot.
Conclusion
Building an obstacle-avoiding robot is an excellent introduction to robotics and sensor integration. The IntelliBot V1 kit makes it simple by providing all the necessary components in a ready-to-assemble form. By following this guide, you’ll not only have a working robot but also a deeper understanding of how sensors and microcontrollers can be combined to create intelligent machines.
So, go ahead and build your own obstacle-avoiding robot, and happy building!
External Links
- Official IntelliBot Kit Overview
- Download IntelliBot_v1 Library
- Setup Library in Arduino IDE
- Line-Following Robot Using IntelliBot
- Building a Bluetooth-Controlled Robot Using Intelli Bot